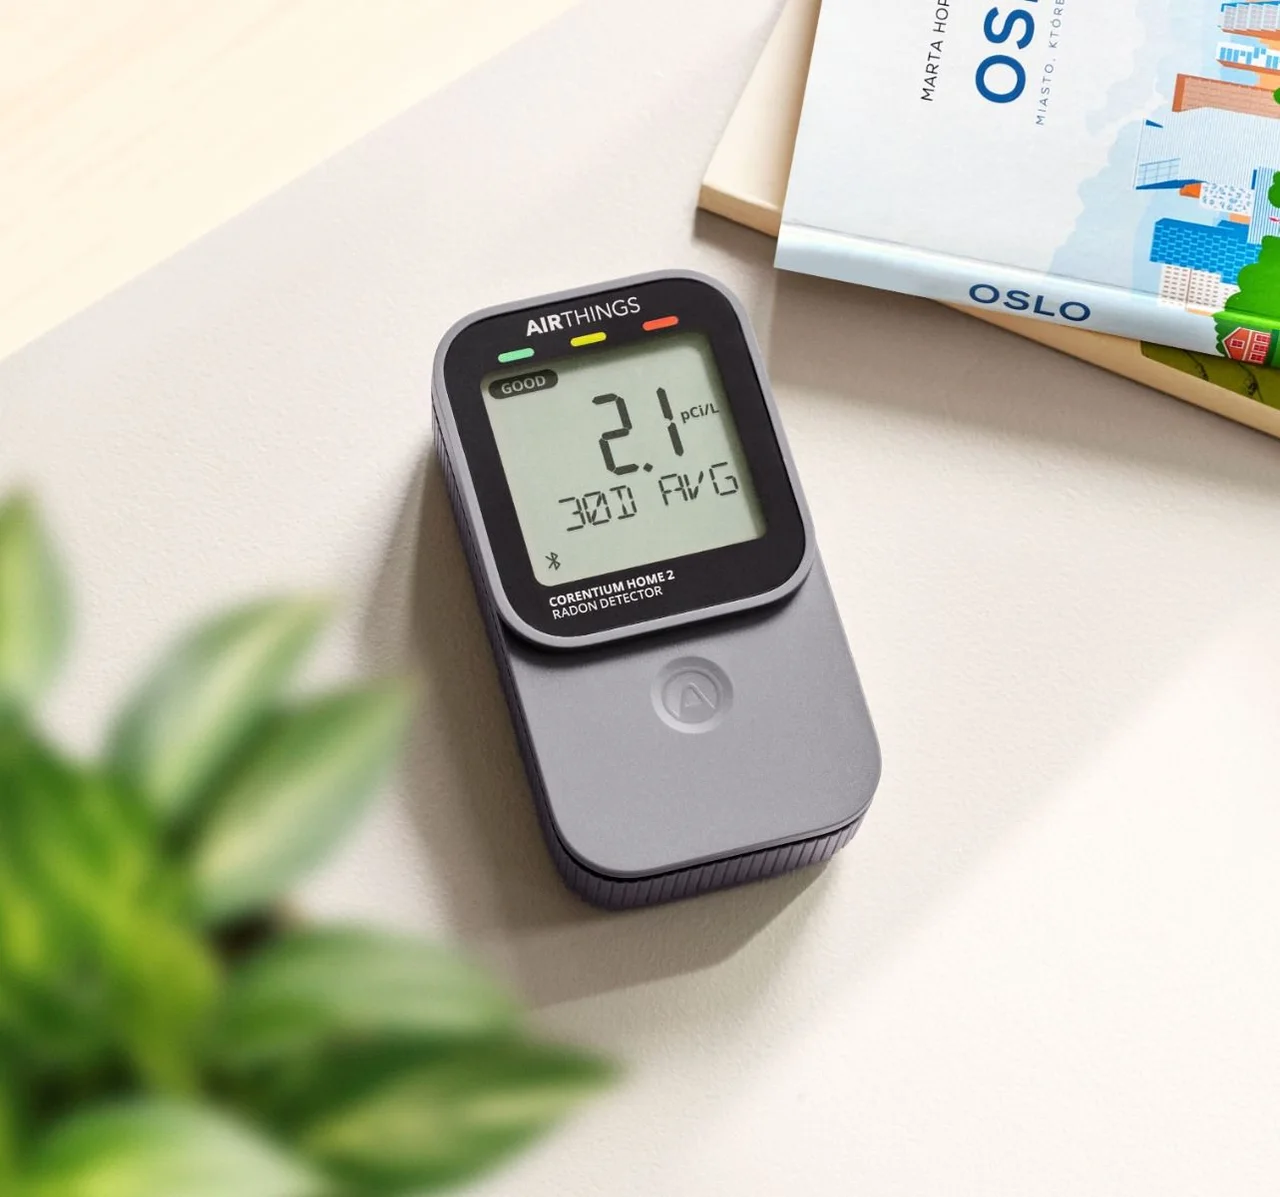
Indoor air testing sounds like a lab project, but the practical version takes an afternoon and answers real questions: Is the bedroom stuffy at night? Is cooking smoke hanging around? Is the basement radon level worth acting on? This guide walks through the order of operations most households should follow, what each test can and cannot tell you, and how long to leave devices running before trusting the numbers.
What you’ll need
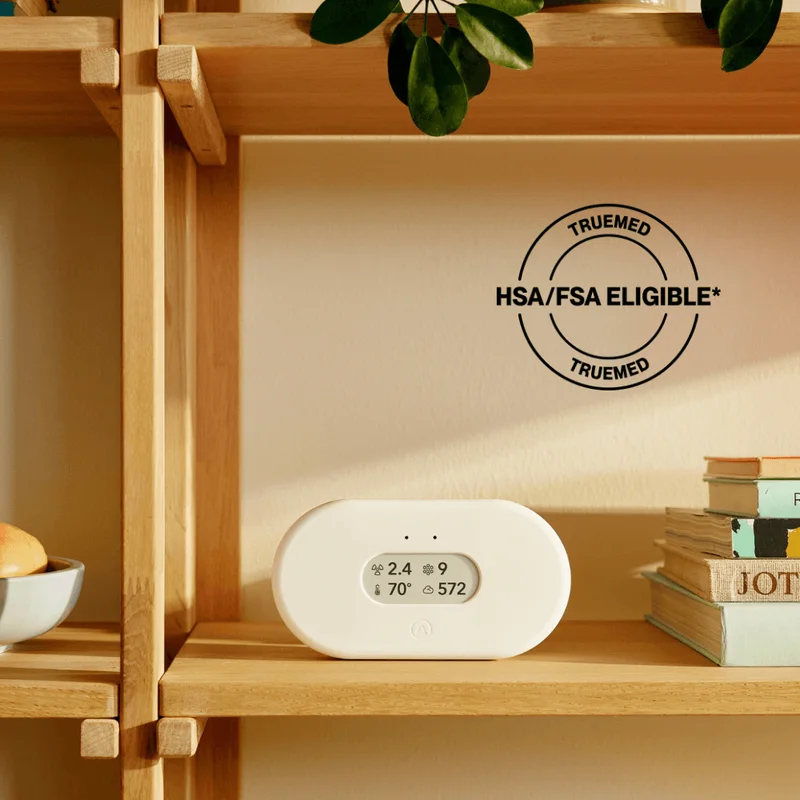
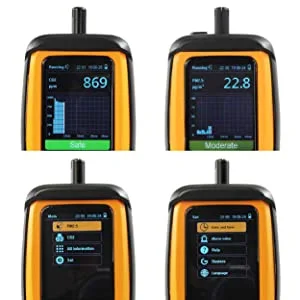
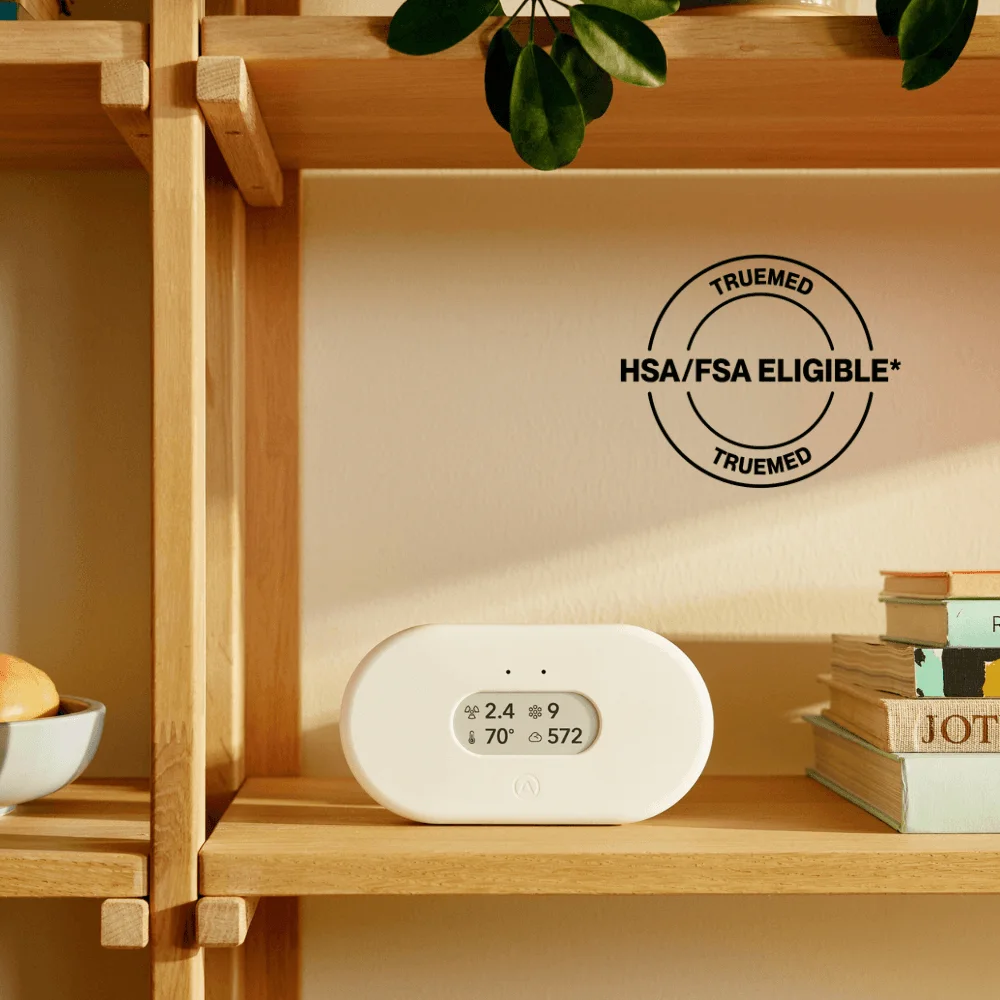
- A continuous air quality monitor (ideally with CO2, PM2.5, and humidity — like the Airthings View Plus or the Temtop M2000 for particles)
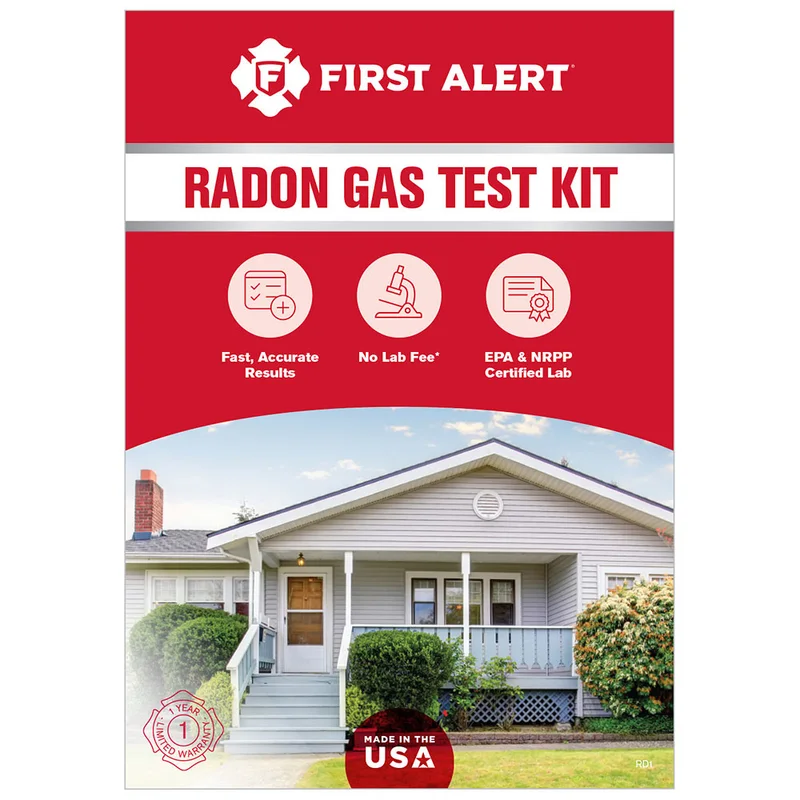
- A lab-analyzed radon test kit (such as the First Alert RD1) if you are below grade or in a known-risk region
- Optional: a mold test kit or professional inspection if you have visible moisture or a musty smell
- A notebook or the app’s history view to record baseline conditions
Step-by-step
- Start with a walk-through and a sniff test. Note where the air feels stale, where smells linger, and which rooms are occupied most. The rooms that feel wrong are your test locations — start there, not in a random hallway.
- Place a continuous monitor in the primary living space. Choose the room your household occupies most, put the monitor at breathing height away from windows, vents, and direct sunlight, and let it run.
- Let the monitor establish a 24-hour baseline. One hour of data tells you almost nothing. A full day captures cooking, sleeping, and the evening CO2 climb. The app’s history view makes the daily pattern obvious.
- Move the monitor through secondary rooms, one at a time. After the baseline, spend 24 hours in the bedroom, then the basement. Compare each room against the baseline rather than judging absolute numbers.
- Test radon separately in the lowest occupied level. Run a lab-analyzed kit per its instructions — typically with windows and doors closed for the test period — and send it in for analysis. Continuous radon monitors complement this with long-term trends.
- Investigate anything that stands out. A humidity pattern, a CO2 climb, or a particle spike during cooking is a clue, not a verdict. Ventilate, adjust habits, and re-test to see what changes.
- Re-test after changes. New furniture, painting, a mitigation system, or a new purifier all deserve a fresh baseline. Give any change a week, then compare.
Interpreting the results
CO2 readings below about 1,000 ppm generally indicate good ventilation; sustained higher readings mean the room needs air. PM2.5 and AQI color scales tell you whether particle levels are comfortable or warrant caution, especially for sensitive groups. Humidity in the 30–50% range is a common comfort target, with sustained higher levels signaling mold risk. Radon results should be compared against your region’s action level — for example, the US EPA’s 4 pCi/L guidance — and elevated results warrant a mitigation professional. Remember that consumer devices show trends, not lab-grade truth: a pattern across days is more meaningful than any single number.
When to call a professional
Call in a professional when you have symptoms or conditions a consumer test cannot resolve: visible mold growth, a persistent musty smell, water damage history, or a radon result near or above the action level. Professionals bring calibrated instruments, air sampling for mold spores, and the expertise to interpret results in your specific home. For radon, a qualified mitigation contractor can design a system; for mold, an inspector can identify sources a handheld monitor never will. Your local health or environmental agency is the right first call for regional guidance and licensed contractor lists.
Frequently asked questions
How long should I test before trusting results?
Aim for at least 24 hours per room for continuous monitors, with a week being more meaningful for patterns. Radon test kits have their own required exposure windows — follow the kit instructions exactly.
Can one test answer everything?
No. CO2, particles, VOCs, humidity, and radon each need their own measurement approach. A multi-sensor monitor covers several at once, but lab tests are still the standard for formal questions like radon or mold identification.
Do I need to close windows while testing?
For radon kits, yes — the instructions typically require closed-house conditions. For general air quality monitoring, test under normal living conditions; that is what you actually want to measure.
What should I do with an elevated radon result?
Confirm with a follow-up test, then contact a qualified radon mitigation professional in your area. Mitigation systems are well-established and typically reduce levels substantially.
How often should I test my home's air?
Annual radon testing is a common recommendation, with continuous monitoring filling the gaps. Re-test after major changes: renovations, new heating systems, or new occupants. Air quality monitoring is most valuable during problem seasons — wildfire, allergy, or heating season.